5 Simple Steps to Apply Sealant
22 Mar 2024
5 Simple Steps to Apply Sealant
Sealants are like superheroes for your surfaces, protecting them from all kinds of damage and deterioration. In this guide, we'll walk you through the importance of sealants, the application process, common mistakes to avoid, and a step-by-step tutorial to ensure your sealant application is a success.

Understanding the Importance of Sealants
Sealants are your surfaces' best friends, providing a protective barrier against water, moisture, dirt, and other environmental factors that can cause damage and deterioration. By sealing your surfaces properly, you not only enhance their appearance but also extend their longevity, saving you time and money in the long run.
Overview of Sealant Application Process
Before diving into the nitty-gritty details, let's take a quick look at the basic steps involved in applying sealant:
-
Surface Preparation
-
Choosing the Right Sealant
-
Applying the Sealant
-
Allowing for Cure Time
-
Maintenance and Longevity
Benefits of Proper Sealant Application
When applied correctly, sealants offer a multitude of benefits, including:
Surface Protection: Shielding surfaces from moisture, stains, and damage.
Improved Aesthetics: Enhancing the appearance of surfaces with a glossy or matte finish.
Longevity: Extending the lifespan of surfaces by preventing deterioration.
Cost Savings: Reducing the need for repairs and replacements in the future.
Common Mistakes to Avoid
While applying sealant may seem straightforward, there are a few pitfalls to watch out for:
Skipping Surface Preparation: Neglecting to clean and prime the surface can result in poor adhesion and ineffective sealing.
Using the Wrong Sealant: Choosing an incompatible or low-quality sealant can lead to subpar results and premature failure.
Over-Application: Applying too much sealant can result in messy, uneven finishes and waste product.
Now that you're familiar with the basics, let's dive into the step-by-step guide to applying sealant like a pro!
Step 1: Surface Preparation
Before applying sealant, ensure the surface is clean, dry, and free of debris. Use a mild detergent and water to remove dirt, grease, and grime, then allow the surface to dry completely before proceeding.
Step 2: Choosing the Right Sealant
Consider factors such as the type of surface, environmental conditions, and desired finish when selecting the appropriate sealant for the job. Choose a high-quality product that is compatible with the material you're sealing and offers the necessary protection.
Step 3: Applying the Sealant
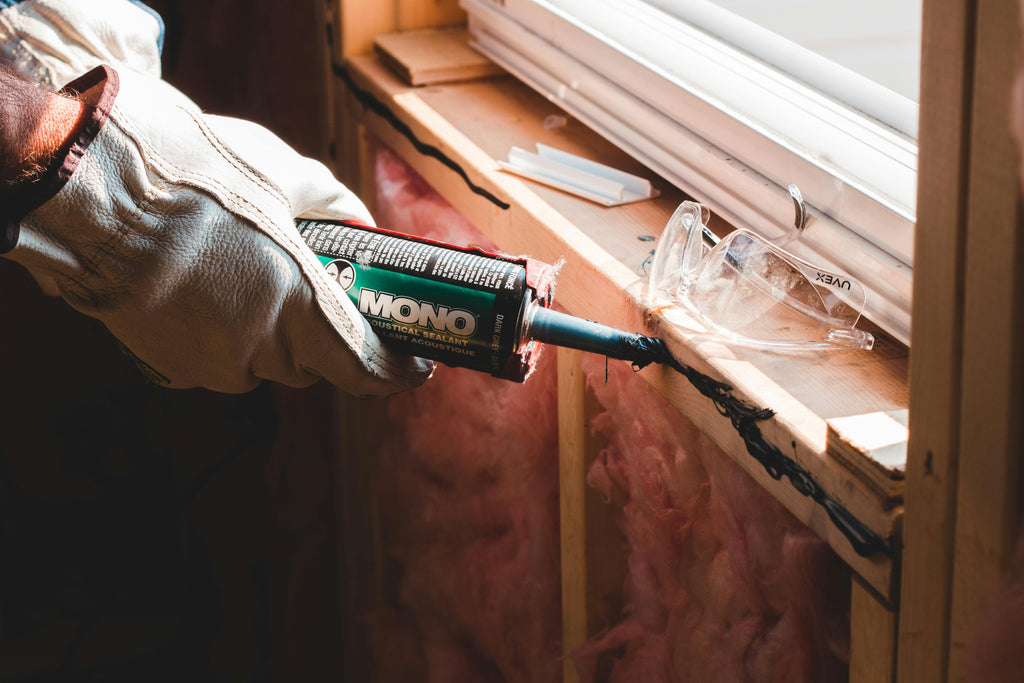
Apply the sealant evenly using a caulking gun or brush, ensuring full coverage of the surface. Use smooth, steady strokes to create a uniform layer, and avoid over-application to prevent drips and runs.
Step 4: Allowing for Cure Time
Allow the sealant to cure according to the manufacturer's instructions before exposing the surface to moisture or heavy use. This typically takes anywhere from 24 to 48 hours, depending on the type of sealant and environmental conditions.
Step 5: Maintenance and Longevity
To maximize the lifespan of your sealant, perform regular maintenance tasks such as cleaning and resealing as needed. Avoid harsh chemicals and abrasive cleaners that can damage the sealant, and reapply as necessary to ensure continued protection.
With these simple steps, you can achieve professional-quality results and enjoy the benefits of long-lasting sealant protection. So go ahead, unleash your DIY prowess and seal your way to surface perfection!
FAQs Section
What surfaces can I apply a sealant to?
You can apply sealant to a variety of surfaces, including tile, wood, metal, concrete, and glass. From showers to decks to windows, sealant offers versatile protection for a wide range of applications.
How often should I reapply sealant?
The frequency of sealant reapplication depends on factors such as environmental conditions, level of wear and tear, and type of sealant used. Generally, it's a good idea to inspect your sealed surfaces periodically and reapply sealant as needed to maintain optimal protection.
Is sealant application a DIY job, or should I hire a professional?
Sealant application can be a DIY job, especially for smaller projects or those with some handy skills. However, for larger or more complex projects, or if you're unsure about the process, it's always best to consult with a professional to ensure the job is done correctly.
Can I paint over sealant?
Yes, in most cases, you can paint over sealant once it has fully cured. However, it's important to choose a paint that is compatible with the type of sealant used and to follow proper preparation and application techniques for the best results.
What are some signs that indicate I need to reapply sealant?
Signs that it may be time to reapply the sealant include visible wear or deterioration of the sealant layer, water seepage or leakage, discoloration or staining of the sealed surface, and loss of gloss or shine.
Now that we've addressed some common questions, let's dive into the step-by-step guide to applying sealant and unleashing your inner DIY enthusiast!


