Easy Steps to Replace Your Radiator
22 Mar 2024
Easy Steps to Replace Your Radiator
If you've ever shivered through a chilly morning shower or wrapped yourself in towels that feel more like ice packs, you know the value of a functional bathroom radiator. In this article, we'll walk you through the process of replacing your old, tired radiator with a shiny new one, ensuring cozy warmth and efficient heating for your bathroom sanctuary.
Importance of a Functional Bathroom Radiator
A bathroom radiator isn't just about keeping you warm; it's a cornerstone of comfort and relaxation. Picture this: stepping out of a steamy shower into a toasty oasis, towels at the ready, and no fear of catching a cold from lingering chilliness. A properly functioning radiator transforms your bathroom into a cozy retreat, enhancing your daily routine and overall well-being.
Types of Bathroom Radiators
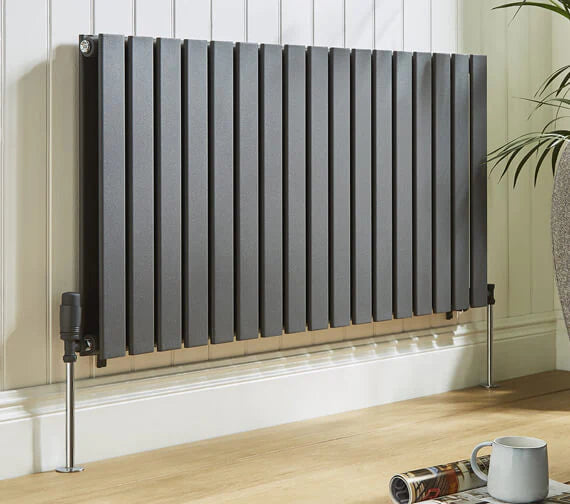
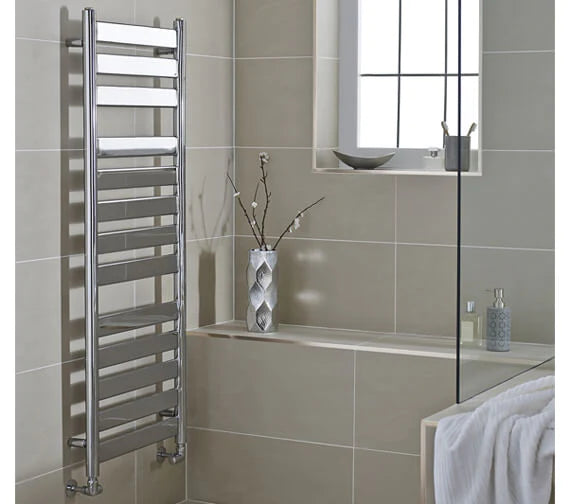
When it comes to bathroom heating solutions, the options are as diverse as they are stylish. Traditional radiators exude timeless charm, while sleek towel radiators combine warmth with practicality, perfect for drying towels and adding a touch of luxury to your space. For those seeking flexibility, electric radiators offer easy installation and independent heating control, ideal for smaller bathrooms or as a supplement to existing heating systems.
Signs Your Radiator Needs Replacement
Is your current radiator sending distress signals? Look out for leaks that turn your floor into a mini swimming pool, uneven heating that leaves you with chilly spots, or rust spots reminiscent of a neglected shipwreck. Strange clanks and groans? That's your radiator's way of saying, "Help, I'm on my last legs!" Don't ignore these cries for help; it's time for a heating system upgrade.
Tools and Materials Needed
Fear not, intrepid DIYers! Armed with the right plumbing tools for radiator replacement, you'll breeze through this project like a seasoned pro. Gather your trusty wrench, pipe cutter, and radiator bleed key, along with the essentials: a shiny new radiator, pipe fittings, and Teflon tape for sealing the deal. With these in hand, you're ready to tackle the challenge and emerge victorious in the battle against the cold.
Replacing your bathroom radiator is more than just a maintenance task; it's an opportunity to upgrade your space with modern bathroom radiators that marry form and function seamlessly. Say goodbye to outdated eyesores and hello to efficient heating solutions that not only keep you warm but also save energy and money in the long run.
Preparation Steps
Before diving into the world of radiator replacement, it's essential to prepare your space properly. Here's what you need to do:
Shutting off the water supply and draining the radiator: Safety first! Make sure to turn off the water supply and drain the radiator to avoid any messy mishaps.
Clearing the area around the radiator for easy access: Give yourself some elbow room! Clear away any clutter surrounding your old radiator to make the replacement process smoother than ever.
Removing the Old Radiator
Out with the old, in with the new! Bid farewell to your outdated radiator by following these simple steps:
Step-by-step guide on disconnecting pipes and removing brackets: It's time to disassemble! Take it one pipe at a time and say goodbye to those rusty brackets holding your old radiator in place.
Tips for handling old radiators safely and disposing of them properly: Don't let your old radiator be a pain in the drain! Handle with care and dispose of responsibly to keep your space clean and green.
Preparing for Installation
Now that your bathroom is radiator-free, it's time to prepare for the installation of your shiny new unit:
Measuring and cutting new pipes if necessary: Measure twice, cut once! Ensure a perfect fit for your new radiator by taking accurate measurements and making precise cuts if needed.
Applying Teflon tape to fittings for secure connections: Seal the deal! Wrap those fittings in Teflon tape to prevent leaks and keep your heating system running smoothly.
Installing the New Radiator
The moment you've been waiting for has arrived! Get ready to install your brand new radiator with these straightforward steps:
Attaching brackets and securing the radiator in place: Hang tight! Secure your new radiator in place with sturdy brackets for a snug fit that will last for years to come.
Connecting pipes and ensuring tight seals: It's all coming together! Connect those pipes with confidence, ensuring tight seals for efficient heating and maximum comfort.
Bleeding and Testing
Don't skip this crucial step! Bleed the air from your system and test for leaks to ensure your new radiator is performing at its best:
Bleeding air from the system to ensure proper circulation: Let it flow! Bleed out any trapped air to keep your heating system running smoothly and efficiently.
Testing for leaks and checking for even heating: Stay leak-free! Test for any pesky leaks and ensure your radiator is heating evenly for optimal comfort all season long.
FAQs: Frequently Asked Questions
How long does it take to replace a bathroom radiator?:
On average, DIY radiator installation can take anywhere from a few hours to a day, depending on your skill level and the complexity of the job.
Can I replace my radiator myself?:
Absolutely! With the right tools and a little know-how, tackling a radiator replacement can be a rewarding DIY project that saves you time and money.


